
PELOGEN2 (3D modeling tool for PICO-8)
[PELOGEN2] UV editing screen - Tools menu
Interface
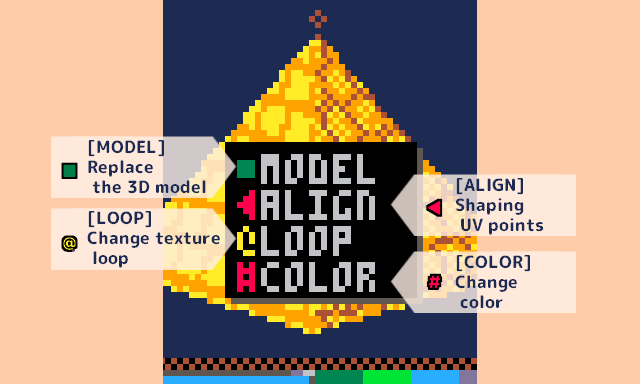
[MODEL] Replace 3D model
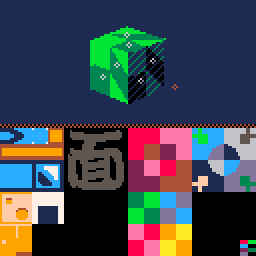
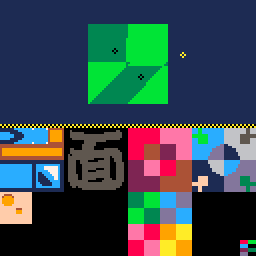
Change the 3D model displayed in the model view.
Only the model to be textured is changed, and the UV being edited is applied as is.
[ALIGN] Shape UV points
Shape points (UV points) on the selected UV surface.
When shaping, the coordinates are snapped so that the UV points form a right-angled triangle.
Shaping patterns include rotated ones and ones that create pairs to form a square.
You can scale it while formatting.
The letters UV-ALIGN are displayed in the upper left corner during the UV shaping operation.
[LOOP] Change texture loop
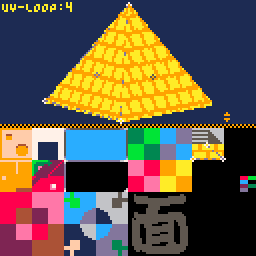
Sets the number of times the texture will be repeated on the selected UV faces.
Setting values are 1 to 4.
*If the UV coordinates approach the end of the grid, the end square will also be included in the loop range.
[COLOR] Change color (background color/replacement model)
Change the background color and the color when replacing the 3D model (preset model and color drawing mode).
The initial color is red.
Operation list
Tools menu
| Open tools menu |  click click
|
| Close tool menu |  click outside the menu frame click outside the menu frame
|
| Select Tools menu item | click
|
[MODEL] replacement menu
| Open the model replacement menu | click "MODEL" in the Tools menu
|
| Switch models |  click in the menu frame (at the top of the screen) click in the menu frame (at the top of the screen)
|
| Confirm model, confirm model, replace | click inside the menu frame |
| Close the model replacement menu | click outside the menu frame
|
| Rotate the model |  drag (at the top of the screen) drag (at the top of the screen) |
| Zoom in/out the model |  +(at the top of the screen) +(at the top of the screen)
|
[ALIGN] Shape UV points
| Enter UV shaping mode | click "ALIGN" in the tool menu
|
| Change UV shaping type |   +(reverse order) +(reverse order) |
| Change UV shaping size | +(reverse order) |
| Confirm UV shaping | click |
| Initialize the coordinates of UV shaping (0,64) |  |
[LOOP] Change texture loop
| Enter texture loop setting mode | click "LOOP" in the tool menu |
| Change the number of loops | |
| Confirm the number of loops | click |
[COLOR] Change palette
| Open the color change palette | click "COLOR" in the tool menu
|
| Change the color of the replacement model | click the color palette |
| Change the background color | click the color palette |
| Close the color change palette | click outside the menu frame |
UV editing
UV point operations are performed with the UV points selected.
| Move UV points |  +Drag at the bottom of the screen +Drag at the bottom of the screen |
| Swap UV point positions | Select two UV points |
| Rotate UV point positions | +(reverse order) |
| Copy UV faces | + |
| Paste UV faces | + |
| Undo | + |
| Redo | + |
Leave a comment
Log in with itch.io to leave a comment.