
PELOGEN2 (3D modeling tool for PICO-8)
[PELOGEN2] UV editing screen - Import texture images
About PELOGEN2 texture images
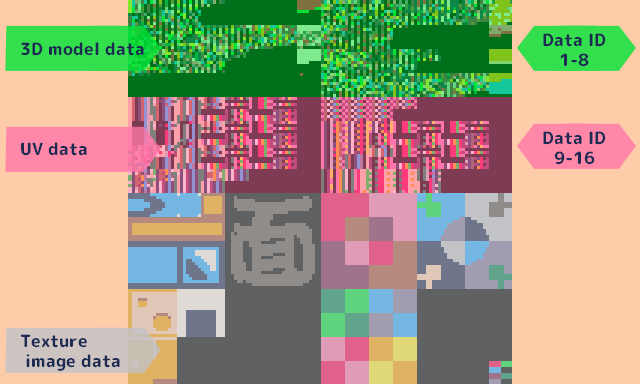
PELOGEN2 texture image data is managed based on the lower half of the sprite data (128x128px) for Pico-8.
Interface
Drag and drop a png image to switch to the import screen.
Select the import source<FROM>
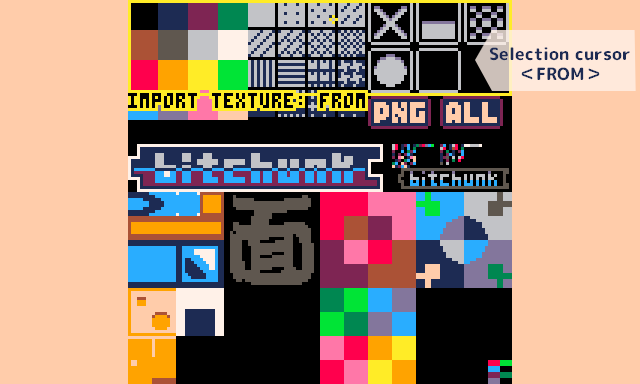
Selection cursor<FROM>
Select the area to cut out from the dropped image (128x128px).
Select the import destination<TO>
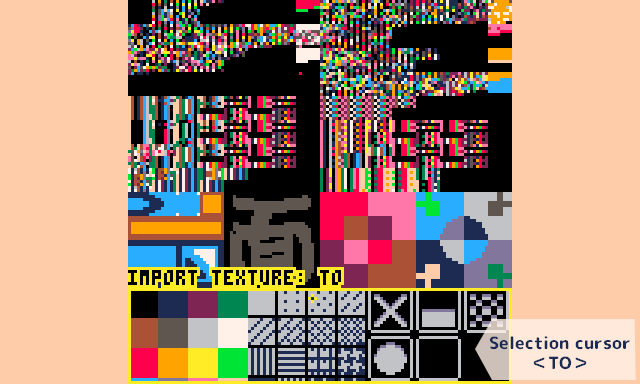
Selection cursor<TO>
Select the position to overwrite the cut-out image on the texture from the selection cursor <FROM>.
Only the lower half can be selected.
Operation list
| Go to the import screen | Drag and drop the PNG image into the window |
| Move the selection cursor | Move the mouse |
| Change the selection range |  (Selection cursor <FROM> only) (Selection cursor <FROM> only) |
| Confirm the selection |  click click |
| Close the import screen (cancel) |  click click |
Leave a comment
Log in with itch.io to leave a comment.